Find how you can improve the size of your Docker images for a better experience and savings inside your organization.

Containerization is the new normal. We are all aware of that. All the new versions of the corporate software and all the open-source projects are including the options to use a docker image to run their software.
Probably you already have been doing your tests or even running in production workloads based on docker images that you have built yourself. If that is the case, you probably know one of the big challenges when you’re doing this kind of task: How to optimize the size of the image you generate?
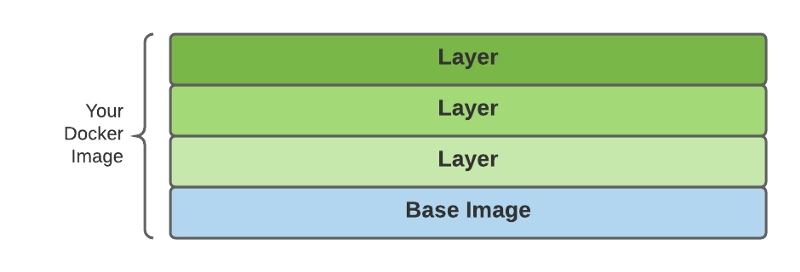
One of the main reasons the docker image can be so big is because they are built following a layered concept. And that means that each of the images is being created as the addition of layers, each associated with the different commands you have in your Dockerfile.

Use dive to analyze the size of your images
dive is an open-source project that provides a detailed view of the composition of your docker images. It works as a command-line interface application that has a great view of the content of the layers, as you can see in the picture below:

The tool follows an n-curses interface (if you are old enough to remember how tools were before Graphical User Interfaces was a thing; it should look familiar) and has these main features:
- This tool will provide the list of layers in the top-left of the screen and the size associated with each of them.
- Provides general stats about image efficiency (a percentage value), a potential view of the wasted size, and the image’s total size.
- For each of the layers selected, you get a view on the file system for this view with the data of each folder’s size.
- Also, get a view of the bigger elements and the number of replication of these objects.
Now, you have a tool that will help you first to know how your image is built and get performance data of each of the tweaks that you do to improve that size. So, let’s start with the tricks.
1.- Clean your image!
This first is quite obvious, but that doesn’t mean that it is not important. Usually, when you create a Docker image, you follow the same pattern:
- You declare a base image to leverage on.
- You add resources to do some work.
- You do some work.
Usually, we forget an additional step: To clean the added resources when they are not needed anymore! So, it is important to be sure that we remove each of the files that we don’t need anymore.
This also applies to other components like the apt cache when we are installing a new package that we need or any temporary folder that we need to perform an installation or some work to build the image.
2.- Be careful about how you create your Dockerfile
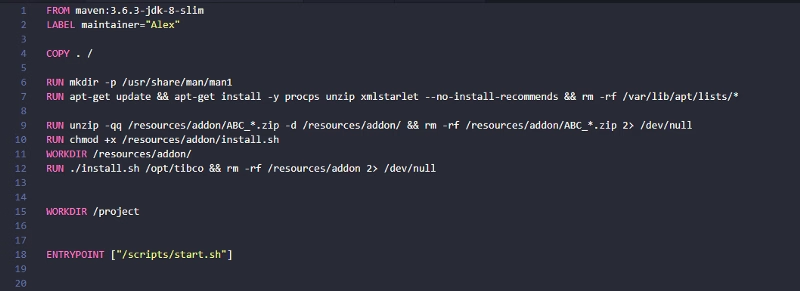
As we already mentioned, each of the commands that we declare in our Dockerfile generates a new layer. So, it is important to be very careful with the lines that we have in the Dockerfile. Even if this is a tradeoff regarding the readability of the Dockerfile, it is important to try to merge commands in the same RUN primitive to make sure we are not creating additional layers.

You can also use Docker linters like Hadolint that will help you with this and other anti-patterns that you should avoid when you are creating a Dockerfile.
3.- Go for docker build — squash
The latest versions of the Docker engine provide a new option when you build your images to create with the minimized size squashing of the intermediate layers that can be created as part of the Dockerfile creation process.
That works, providing a new flag when you are doing the build of your image. So, instead of doing this:
docker build -t <your-image-name>:<tag> <Dockerfile location>
You should use an additional flag:
docker build --squash -t <your-image-name>:<tag> <Dockerfile location>
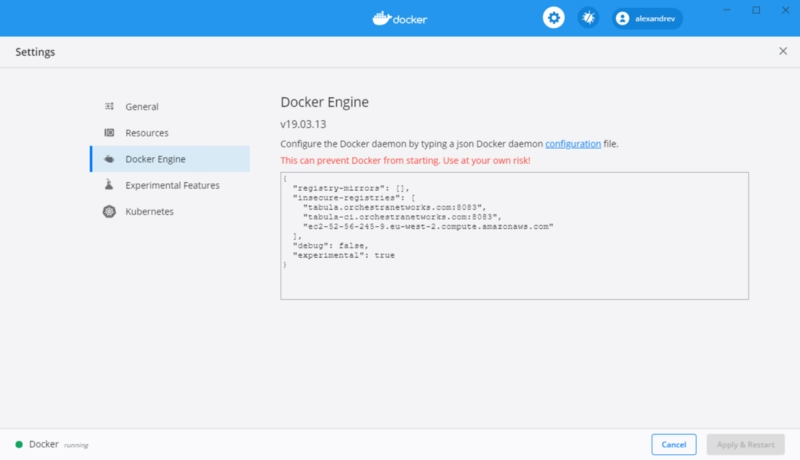
To be able to use this option, you should enable the experimental features on your Docker Engine. To do that, you need to enable that in your daemon.json file and restart the engine. If you are using Docker for Windows or Docker for Mac, you can do it using the user interface as shown below:

Summary
These tweaks will help you make your Docker images thinner and much more pleasant the process of pulling and pushing and, at the same time, even saving some money regarding the storage of the images in the repository of your choice. And not only for you but for many others that can leverage the work that you are doing. So think about yourself but also think about the community.


