
In previous posts, we’ve talked about capabilities of Flogo and how to build our first Flogo application, so at this moment if you’ve read both of them you have a clear knowledge about what Flogo provides and how easy is to create applications in Flogo.
But in those capabilities, we’ve spoken about that one of the strengths from Flogo is how easy is to extend the default capabilities Flogo provides. Flogo Extensions allows increasing the integration capabilities from the product as well as the compute capabilities and they’re built using Go. You can create a different kind of extensions:
- Triggers: Mechanism to activate a Flogo flow (usually known as Starters)
- Activities/Actions: Implementation logic that you can use inside your Flogo flows.
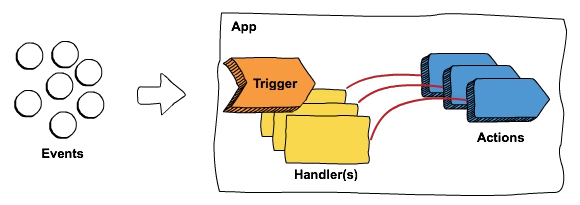
There are different kinds of extensions depending on how they’re provided and the scope they have.
- TIBCO Flogo Enterprise Connectors: These are the connectors provided directly from TIBCO Software for the customers that are using TIBCO Flogo Enterprise. They are release using TIBCO eDelivery like all the other products and components from TIBCO.
- Flogo Open Source Extensions: These are the extensions developed by the Community and that is usually stored in GitHub repositories or any other control version system that is publicly available.
- TIBCO Flogo Enterprise Custom Extensions: These are the equivalent extensions to Flogo OpenSource Extensions but build to be used in TIBCO Flogo Enterprise or TIBCO Cloud Integration (iPaaS from TIBCO) and that follows the requirements defined by Flogo Enterprise Documentation and provides a little more configuration options about how this is displayed in UI.
Installation using TIBCO Web UI
We’re going to cover in this article how to work with all of them in our environment and you’re going to see that the procedure is pretty much the same but the main difference is how to get the deployable object.
We need to install some extension and for our case, we’re going to use both kinds of extensions possible: A connector provided by TIBCO for connecting to GitHub and an open source activity build for the community to manage the File operations.
First, we’re going to start with the GitHub connector and we’re going to use the Flogo Connector for GitHub, that is going to be downloaded through TIBCO eDelivery as you did with Flogo Enterprise. Once you have the ZIP file, you need to add it to your installation and to do that, we’re going to go to the Extensions page
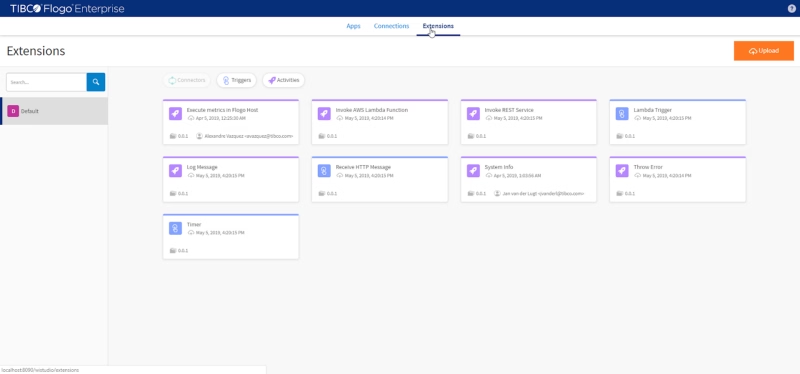
And we’re going to click in Upload and provide the ZIP file we’ve downloaded with the GitHub connector
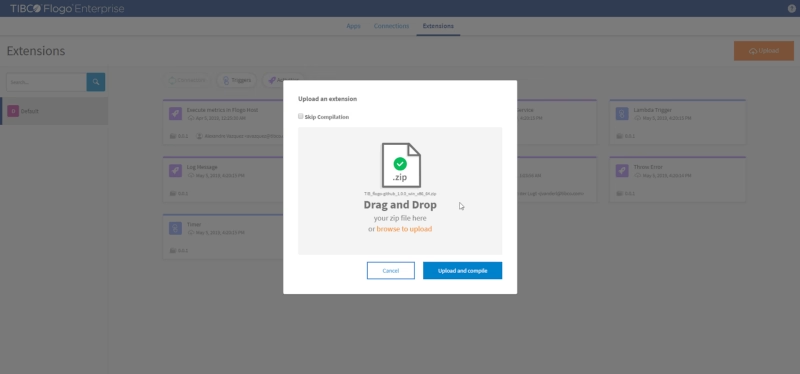
We click on the button “Upload and compile” and wait until the compilation process finishes and after that, we should notice that we have an additional trigger available as you can see in the picture below:
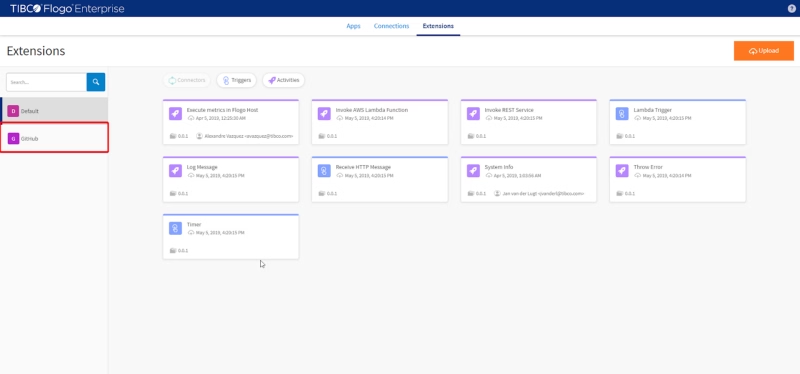
So, we already have our GitHub trigger, but we need our File activities and now we’re going to do the same exercise but with a different connector. In this case, we’re going to use an open source activity that is hosted in the Leon Stigter GitHub repository. And we’re going to download the full flogo-components repository and upload that ZIP file to the Extensions page as we did before:
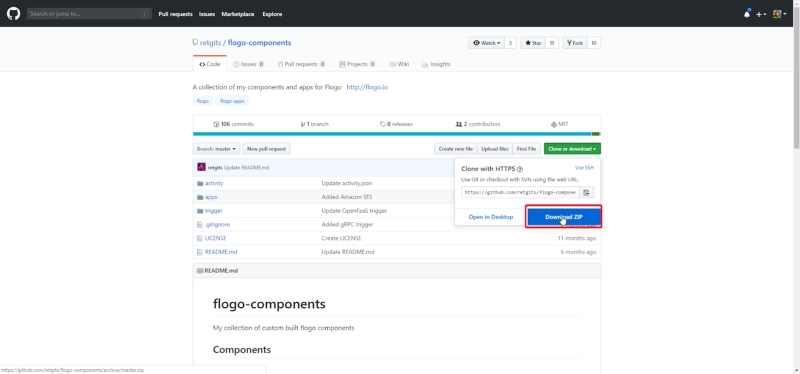
We’re going to extract the full repository and go to the path activity and generate a zip file from the folder named “writetofile” and that is the ZIP file that we’re going to upload it to our Extension page:
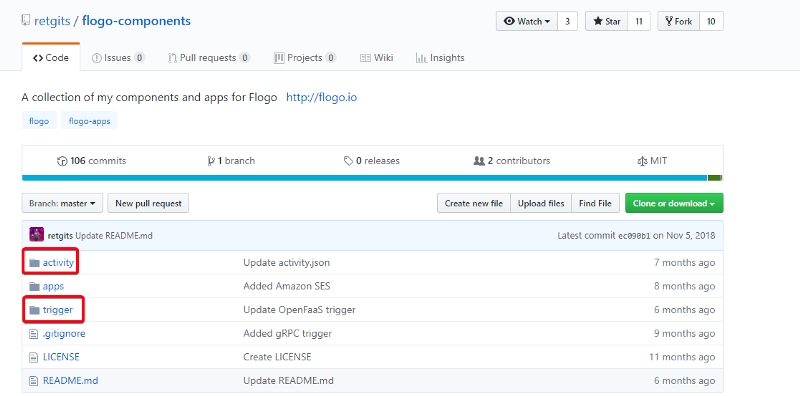
Repository structure is pretty much the same for all this kind of open source repositories, they usually have the name flogo-components and inside they have two main folders:
- activity: Folder that is grouping all different activities that are available in this repository.
- trigger: Folder that is grouping all different triggers that are available in this repository.
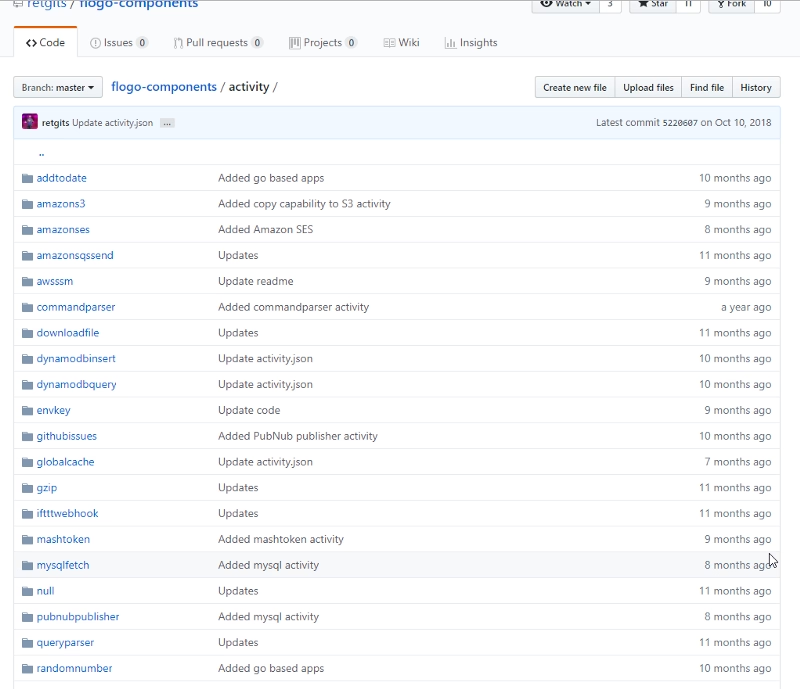
Each of these folders is going to have a folder for each of the activities and triggers that are being implemented in this repository like you can see in the picture below:
And each of them is to have the same structure:
- activity.json: That is going to describe the model of the activity (name, description, author, input settings, output settings)
- activity.go: Holds all the programming code in Go to build the capability the activity exposes.
- activity_test.go : Holds all tests the activity has to be ready to be used by other developers and users.
NOTE: Extensions for TIBCO Flogo Enterprise have an additional file named activity.ts that is a TypeScript file that defines UI validations that it should be done for the activity.
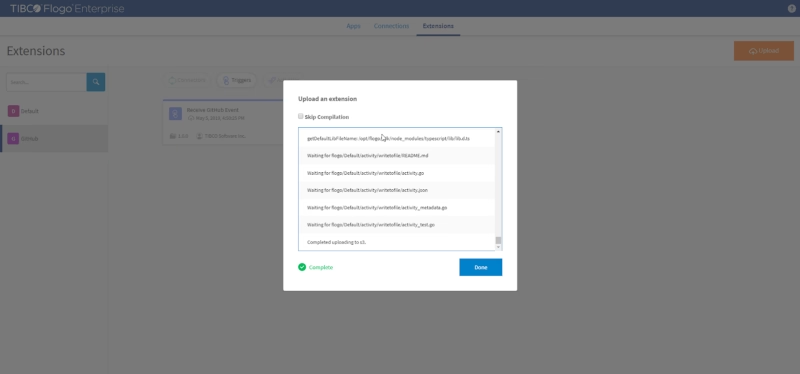
And once we have the file we can upload it the same way we did with the previous extension.
Using CLI to Install
Also, If we’re using the Flogo CLI we can still install it using directly the URL to the activity folder without needed to provide the zip file. To do that we need to enable Installer Manager using the following command:
<FLOGO_HOME>/tools/installmgr.bat
And that is going to build a Docker image that represents a CLI tool with the following commands:

- Install: Install Flogo Enterprise, Flogo Connectors, Services, etc in the current installation directory.
- Uninstall: Uninstall Flogo Enterprise, Flogo Connectors, Services from the current installation directory.
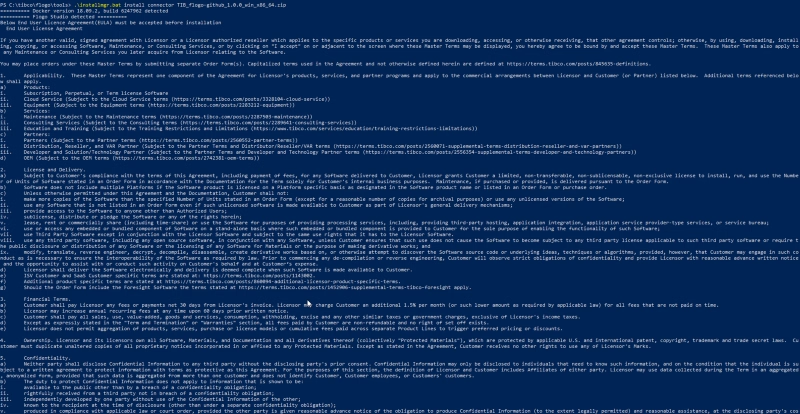
And this process can be used with an official Connector as well as an OSS Extension


