In the previous post, we introduce Flogo technology like one of the things in the cloud-native development industry and now we’re going to build our first Flogo Application and try to cover all the options that we describe in the previous post.
NOTE .- If you’re new to Flogo and you didn’t read the previous post about Flogo capabilities please take a few minutes to read it before continuing.
For this moment forward, I’m going to use Flogo Enterprise, that is the open-core product based on open source Project Flogo, and the current version is 2.5.0 as you can see here: https://docs.tibco.com/products/tibco-flogo-enterprise
First of all, I’d like to introduce the scenario, this is going to be a simple scenario that shows in the most simple way the concepts inside a Flogo application, so we’re going to create a Hello world application that is going to be exposed using HTTP/JSON protocol to communicate. So, the scenario is going to be like the picture shown below:

So, the first thing we need to do is to launch the Flogo Web UI, so we go to our folder where we have our TIBCO Flogo Enterprise installation and we run the command from the bin directory
./run-studio.bat
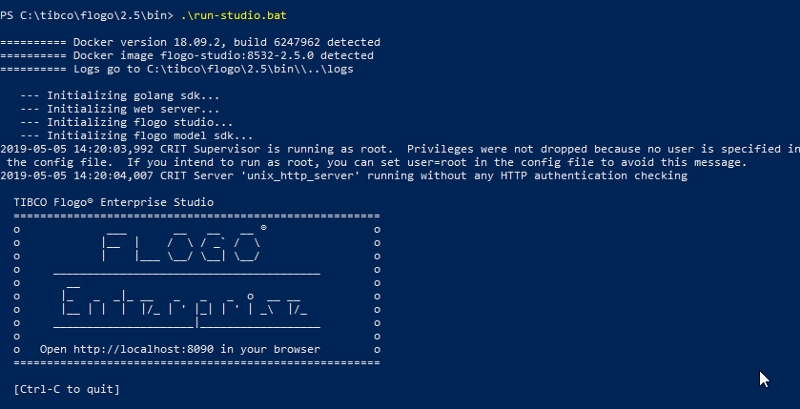
Now, we can go to the location http://localhost:8090 and we see something similar to this:
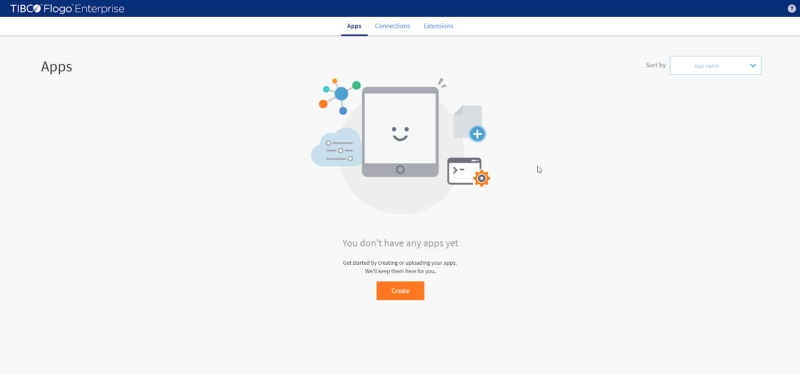
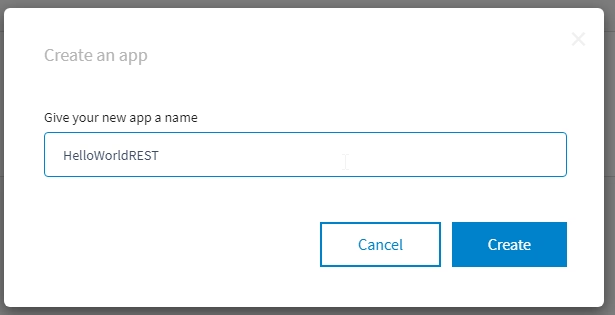
Now, we are going to create our first application so we click on the “Create” button and we’ll provide an application name, in our case we are going to call it “HelloWorldREST”
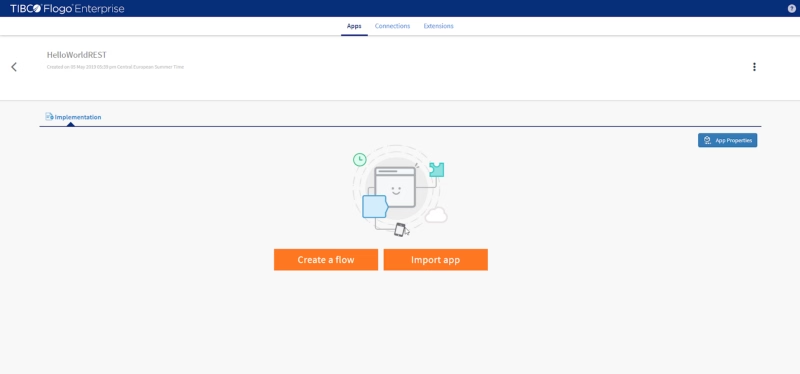
Now, we’ll enter in the main page for an application that is the one shown below:
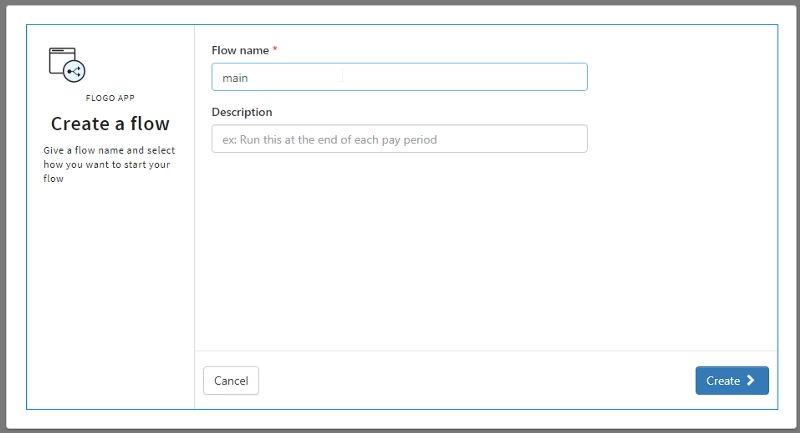
It’s important to notice that Flogo Services are based on flows, so you can create one or more flows that are going to orchestrate the logic that you need to implement. So, the first thing we need to do is to create one flow, and we’re going to do it clicking in the button “Create a flow” and provide a name for the flow, in our case as this is going to be a simple application we’re going to use “main” as name of the flow we’re going to create:
And you’re going to be prompted to the empty canvas of your new “main” flow:
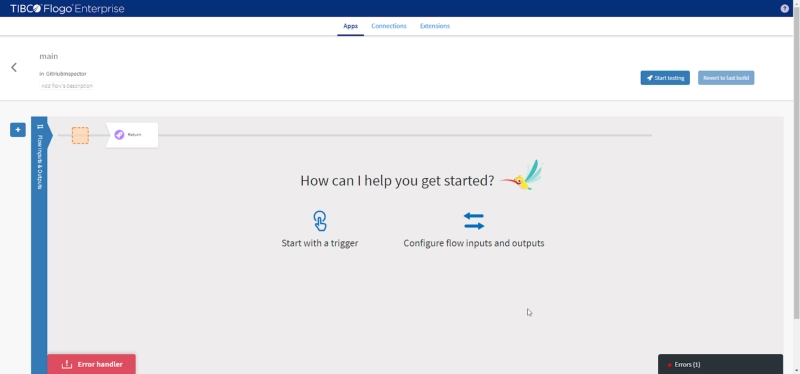
There are two important concepts in a Flogo flow:
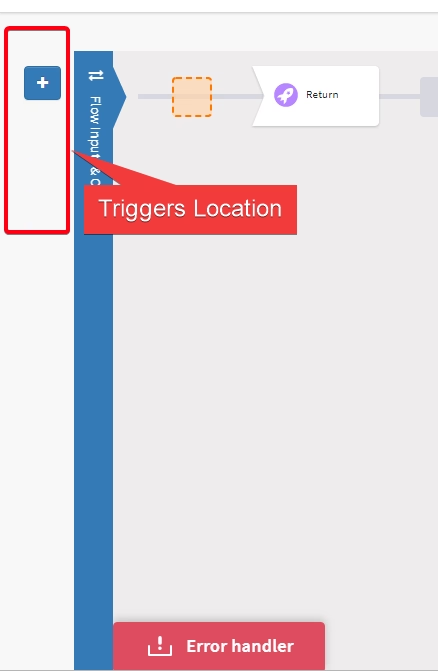
- Trigger: This is how this flow is going to be started, there are several ways to start a Flogo flow, for example with an HTTP Request or a Timer, or an AWS Lambda Event Source, a Kafka Topic or MQTT message and so on. You can have one or more triggers in your application and you should have one if this is a principal flow (instead of a subflow that we’ll discuss in a different post). Triggers are shown in the left of the canvas like little square icons as you can see in the picture below:
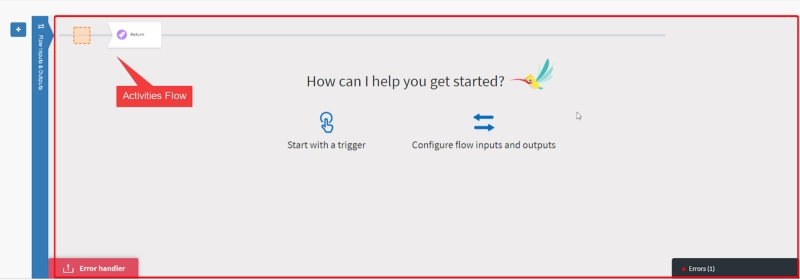
- Activities: Are the ones that are going to decide which logic is going to be executed. Each activity has an action to be performed that could be an internal one like a Log Trace or an external one like invoking a REST Service or something similar, and we’re going to use the rest of the canvas to build the logic flow.
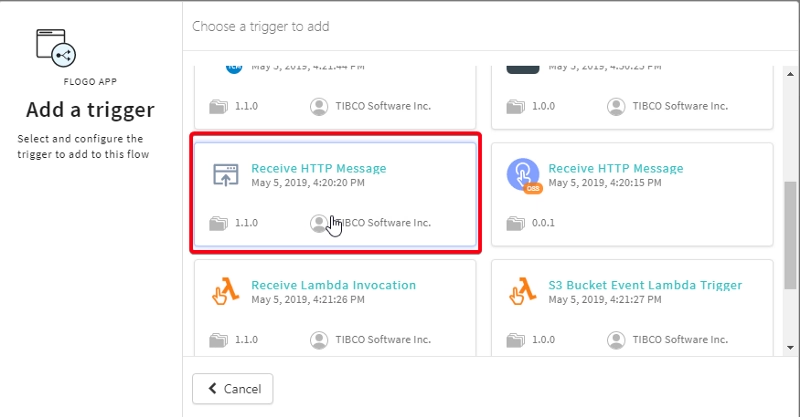
So, the first thing we need to do is to configure the Trigger of this flow, and to do that we click on the plus icon in the Triggers are and select the HTTP REST trigger:
And we’re going to configure it like the image shown below:
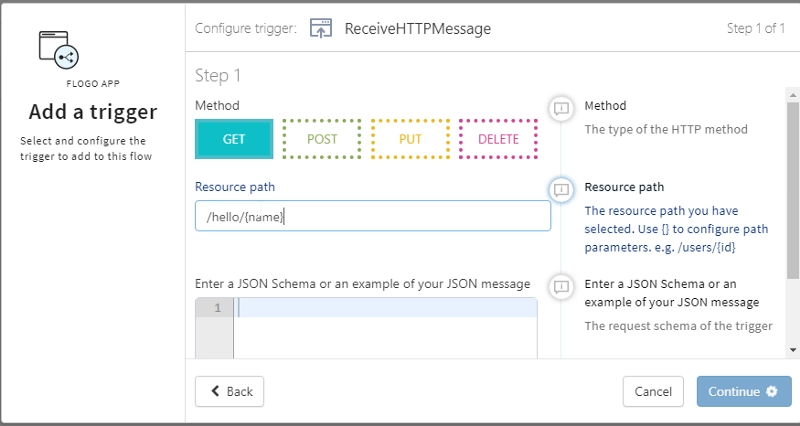
- Method: GET
- Resource Path: /hello/{name}
And we click Continue and in the next window we select “Copy Schema”, to copy the Trigger Output Schema to Flow Input Schema. Now, we’ve added the trigger but we need to configure how the data is going to be transferred into the flow activities. To do this, we click in the “Trigger configuration” because we need to map data from the trigger to the flow input, so in case we have more than one triggers we can have different mappings from each of the triggers to the flow input.
Now, we go to the Output tab and we select “name” under the pathParams object and we map it to the same attribute (name under pathParams from the $trigger object).
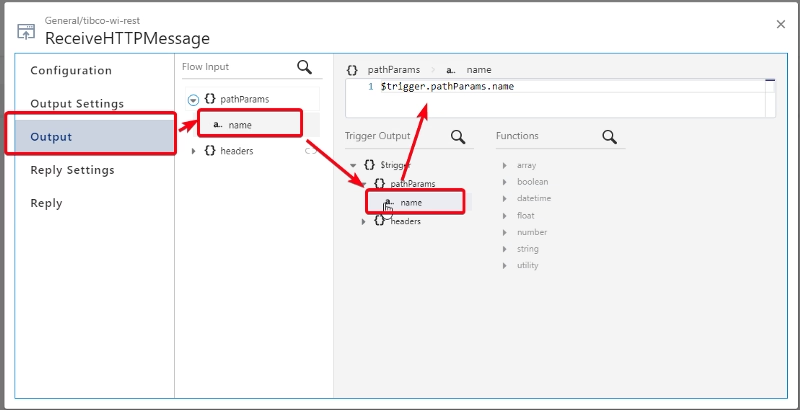
So now this name is going to be transferred to the flow input and we can use it in the flow logic. Now it’s time to build the flow logic. In this case is going to be so easy, as we already have a return activity that is added by default, we only going to add a Log activity to print the names that we’re receiving.
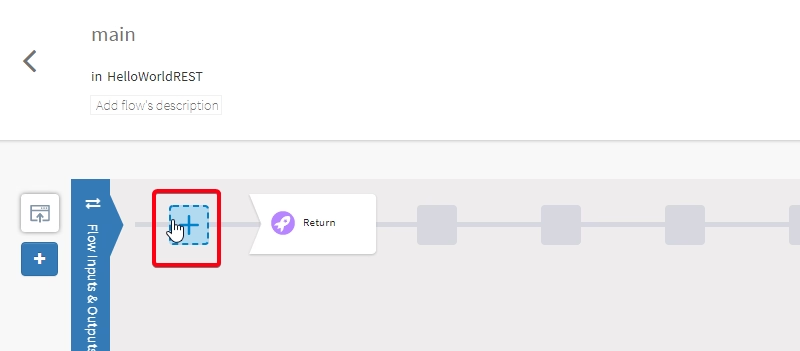
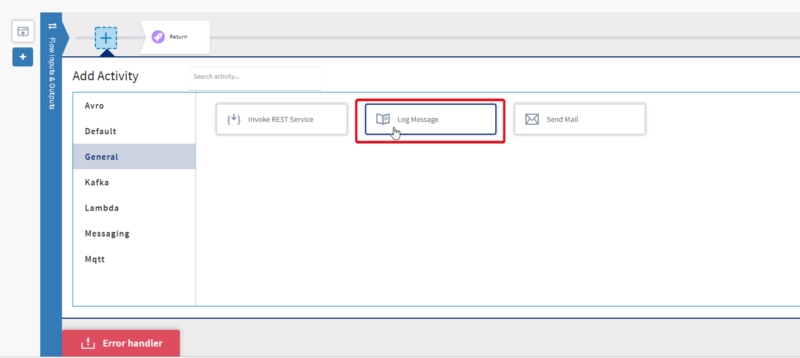
To do that we click on the plus button in the canvas and select inside the General Section the activity Log Message:
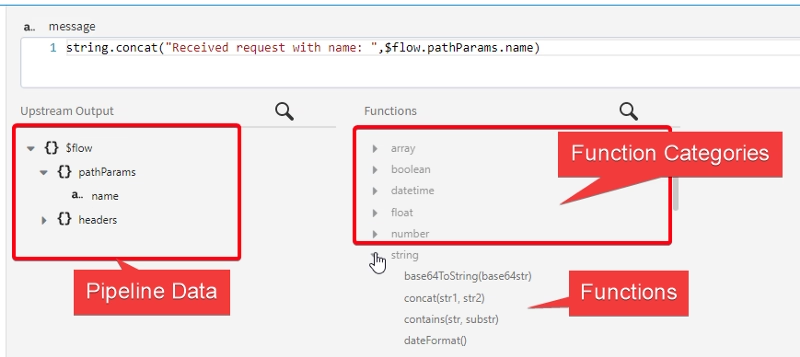
And we need to configure it like it shows the image below:

So, we click in the Input section and in this case the activity by default only has a parameter named “message” that is the log message that is going to be printed, and we create a structure based on the concatenation of a constant value “Receives request with name: “ and the name that was previously mapped in the trigger configuration.
As you can see you have always visible all the functions you’ve available grouped in different categories and also all the pipeline data that you can use that is being generated by the execution of all the activities inside the flow
So, the last thing we need to do is to configure the return activity. To do that we click in the return activity and map the attributes code (to constant 200) and message to the structure shown below:

And that’s all. We’re all set. So now we can start testing the simple service we’ve created. To do that Flogo Studio provides a Test Engine able to check that the logic you’ve to build is working fine. This Test engine is going to test the flow logic, not the triggers so it starts from the first activity and doesn’t include the interaction with the trigger.
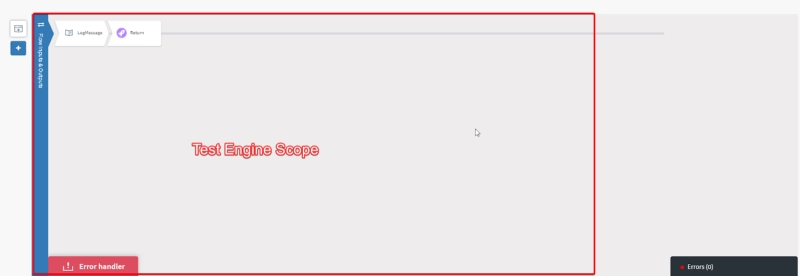
To do that you only need to click in the Start Testing button and provides input values to your flow.
In our case, as most of the logic is based on the trigger makes no sense to do that step, but we’ll come back to the Test Engine in upcoming posts about Flogo Development. So, instead of doing that we’re going to build the service directly. To do that we exit the flow canvas and come back to the application main page and we’re going to click on the Build button and select the architecture that you’ll be using to test your application, in my case this will be windows

And that’s going to generate an executable file, in my case EXE application that has my logic that we only need to execute it to run our service
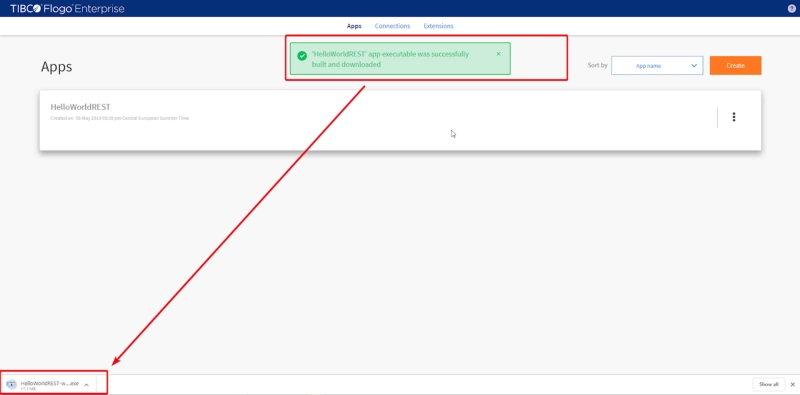
So, now, we launch it and we’ll get an output similar to this:
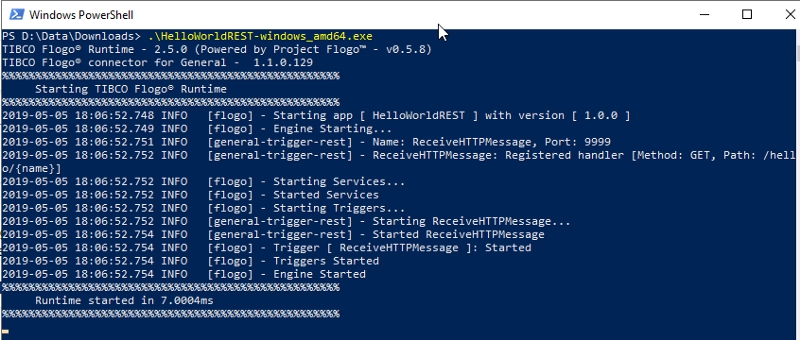
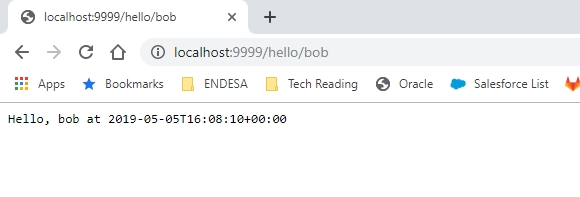
To test the application we’re going to open a new tab in our browser and type the following URL:
And we get a response like this one:
